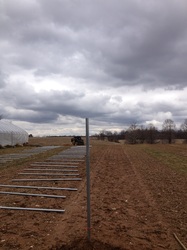
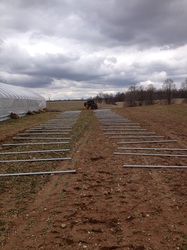
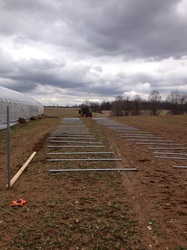
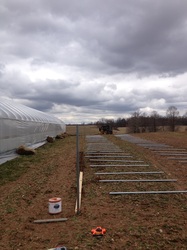
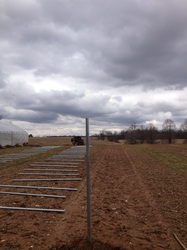
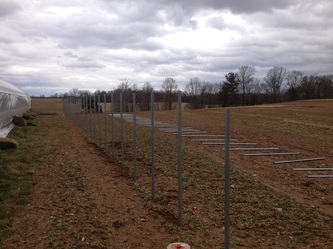
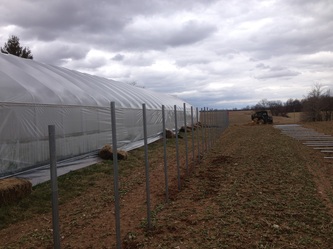
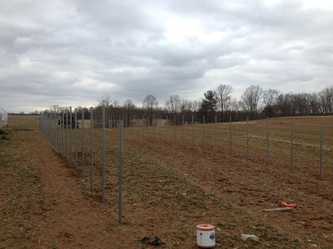
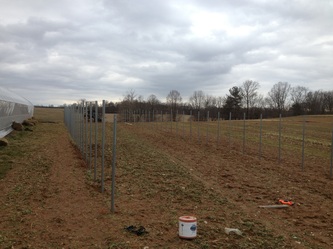
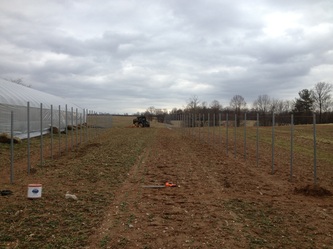
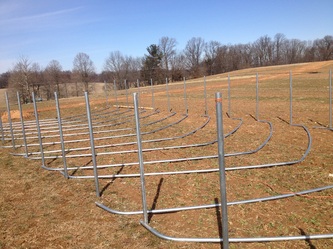
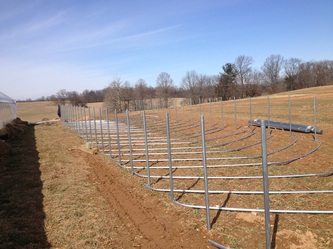
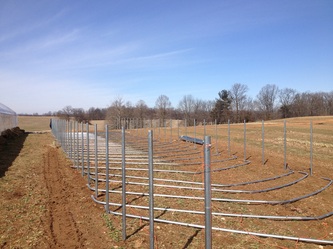
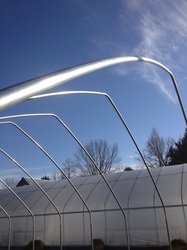
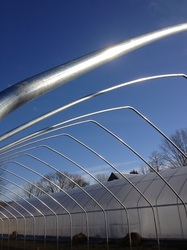
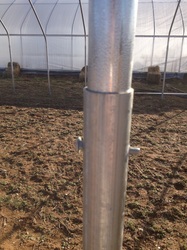
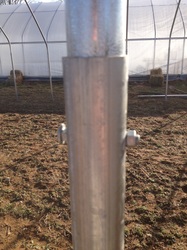
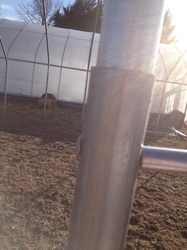
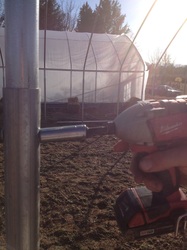
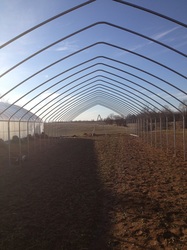
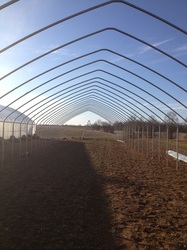
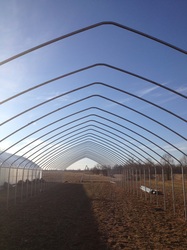
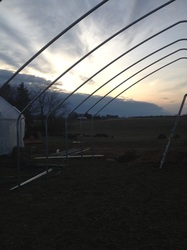
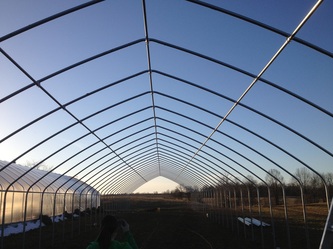
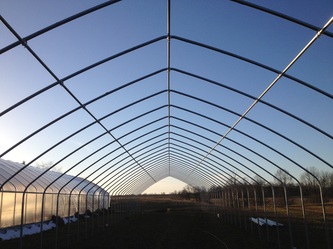
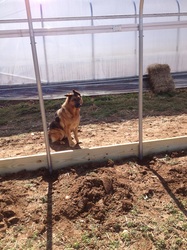
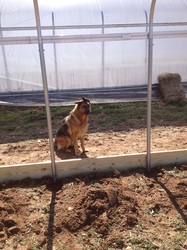
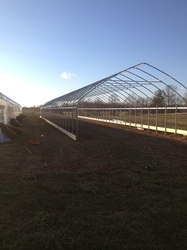
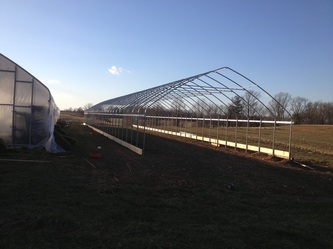
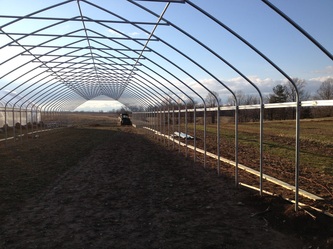
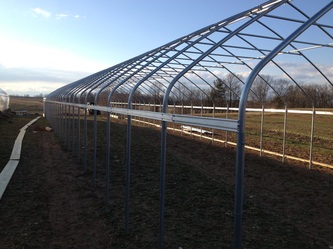
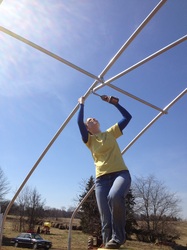
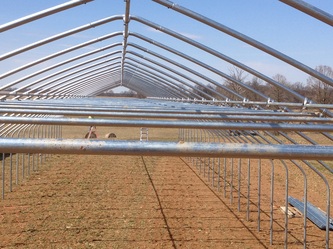
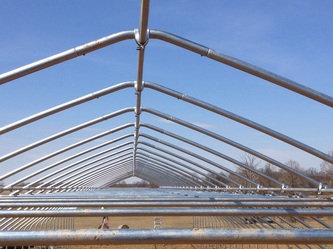
Our Second High Tunnel frame is almost done! We just have to put on the plastic....More pictures to come when that happens. In the meantime, I thought I would explain how we built this thing! We started out by orienting the 4 posts to where we feel was mostly level and would allow plenty of sunlight along with nice airflow. This high tunnel measures 24' x 120'. So now to use some of that all important geometry that we learned so very long ago...hypotenuse anyone? How about Pythagorean Theory? We measure one end, and be sure it is 24'. Then we measure out 120' from one post. This angle must be a 90 degree angle in order for the layout of the frame to be square. After some calculations and multiple measures, we ended up with four posts that were the right "square". We then made a template that would give us exact spacing of 4' between each ground stake. After putting a string the length of the 120' for a straight line, we drove the stakes at least 30" down, on both sides. It is important to be sure that all of the stakes are level, since your arches will be sitting on these stakes. Next we assembled arches and raised them up and sat them on the ground stakes..30 arches later, we were done. Now it is starting to look like something. We connect a purlin starting from one end all the way to the other, we utilize that same template that we used on the ground...this ensures that the top spacing of the arches match the bottom stakes. After the center purlin, we connect both side purlins as well. Next we add the cross braces, which connect to both sides of the arches. Once that is done, it is time to add the sideboards for the plastic to attach to, they simply are screwed into the arches. These run the length of the high tunnel and have grooves in them to snap in a zig zag wire to hold the plastic tight. On to the baseboards, these run along the length and they add strength and stability to the structure. A carriage bolt is drilled through the wood and a clamp holds the ground stake to the baseboard. WInd Braces are attached at all four ends, they run at an angle from the top of the end ground stake in a downward angle to about the 5th (or 20 ft) arch. These four braces are vital for the strength of the structure. We are almost done...Next we will be building ends, so we use a clamp that goes around the arch and connects to a clip that will attach to a 4" wide piece of wood. We have to be sure that it is spaced out appropriately along the end arches for reasonable framing out of the end walls. Once the clamps and the clip are in place, we run a piece of hardware or a track that goes over the entire end arch. This will be the track that we will use zig zag wire and hold the plastic tight. Our frame is now up and we just have to wait for a very calm day to put some poly on! We are really looking forward to having TWO high tunnels to grow some early veggies in, and keep some veggies going longer into the season! Happy Spring TIme!
|
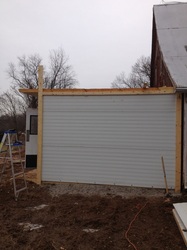
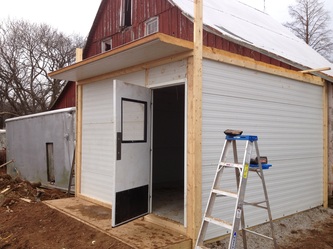
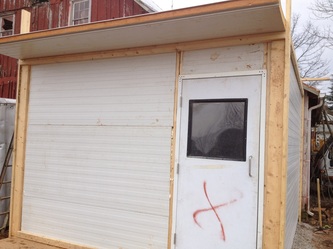
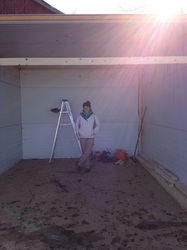
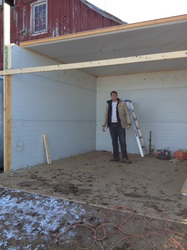
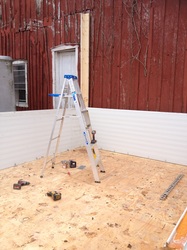
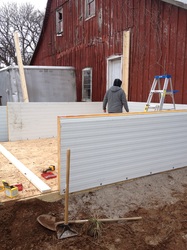
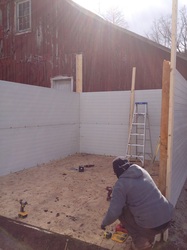
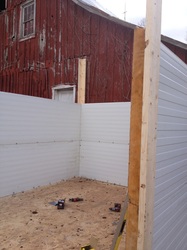
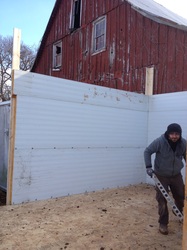
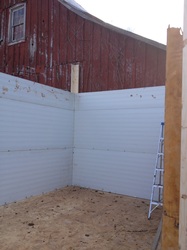
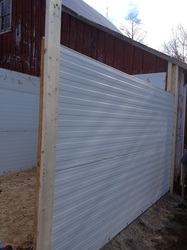
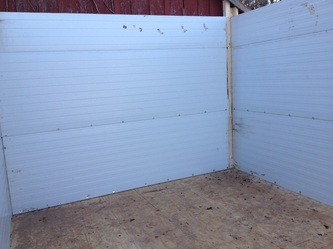
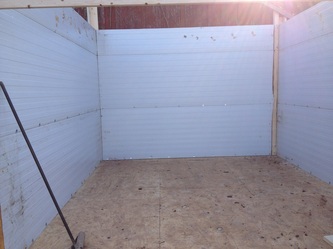
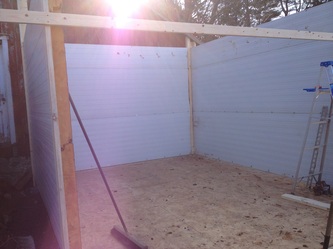
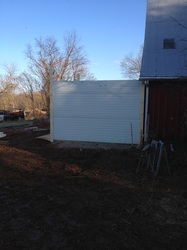
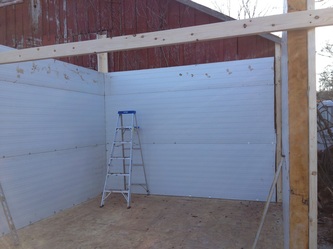
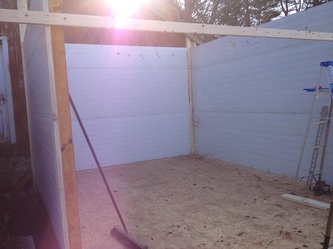
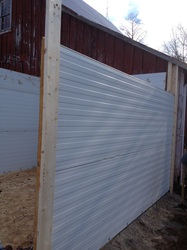
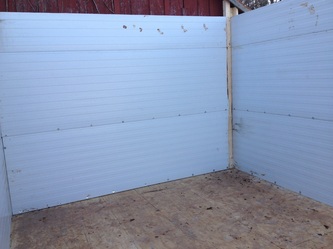
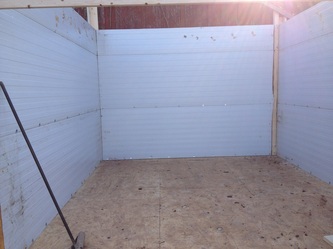
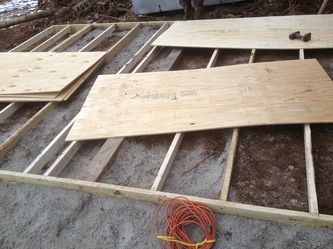
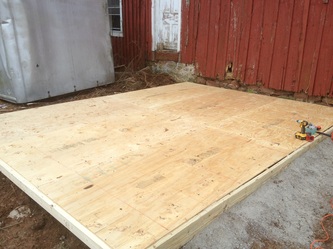
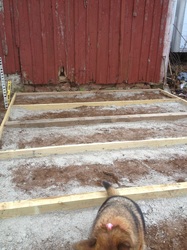
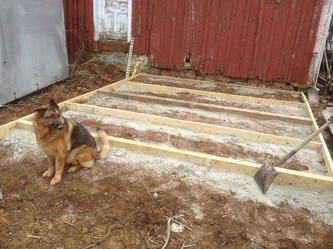
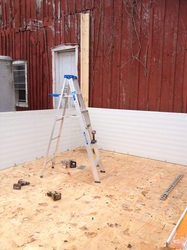
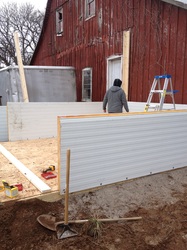
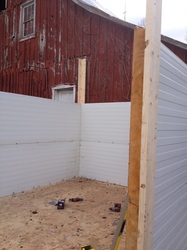
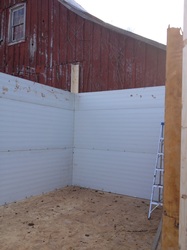
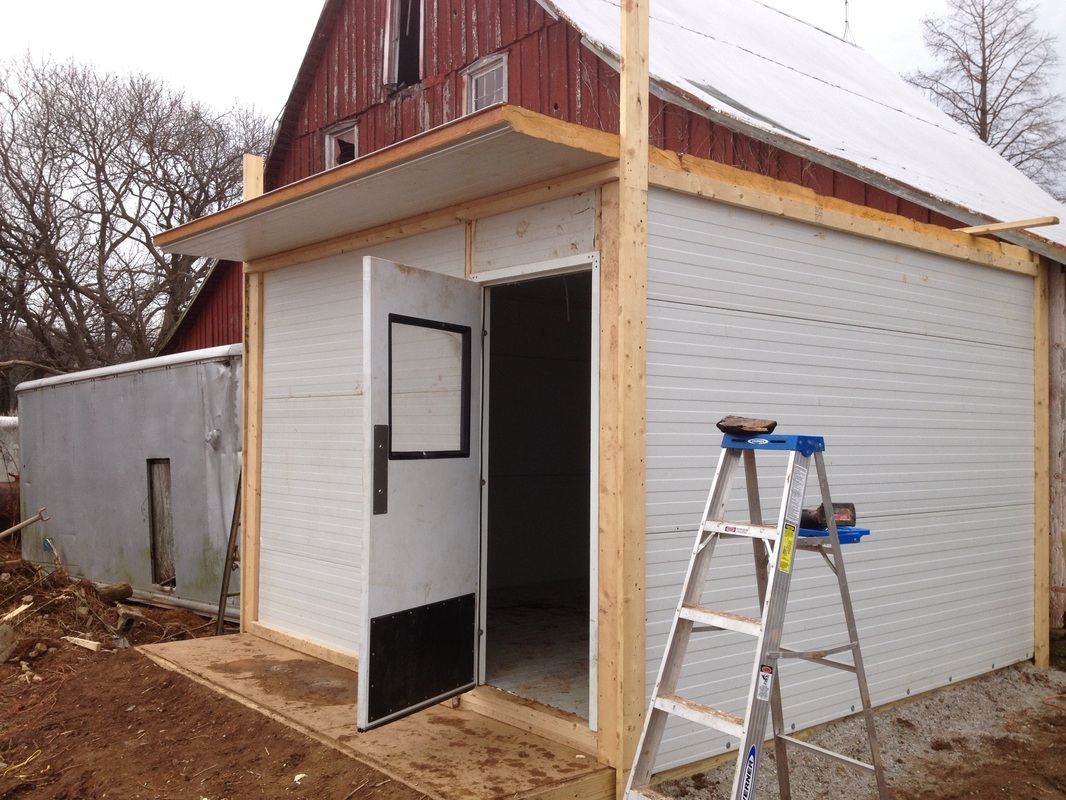
Our Cold Box is complete! This will be where we store our fresh produce after we harvest it in the field, before we take it to the farmers markets, CSA dropoff or deliver to local restaurants. We constructed this cold box out of 4" insulation panels, encapsulated in aluminum sheeting. I bought them as a set of various lengths, and had to figure out how I wanted to build the box to utilize the panels and make a nice sized box. After setting up a base using 4x6 and 6x6 wood, we added some additional 2x6 boards and then topped with plywood as a floor. We then attached corners to the base to hold the panels in place. The panels snapped together and are very rigid. Putting the panels on the roof helped hold everything together. We then put panels on the plywood inside the cold box to add additional strength to the floor and added insulation. We are anticipating that we will not need to add any form of AC unit, we built this box on the north side of our barn, and it will get very little sunshine and it stays very chilly inside! After all is said and done, it is roughly 13'W x12'L x9'H.
|
AuthorJohn Dove, 30 Archives
April 2014
Categories |


 RSS Feed
